Care 7 min read
Cast Iron Dutch Oven Care (Bare Iron, Lids, and Campfire Coals)
A bare cast iron dutch oven is a deep skillet with a lid: season every surface, clean it warm, dry on heat, never store it sealed. Enameled pots play by different rules.
This guide has product links. As an Amazon Associate, Seasoned Cast earns from qualifying purchases — it never changes what we recommend.
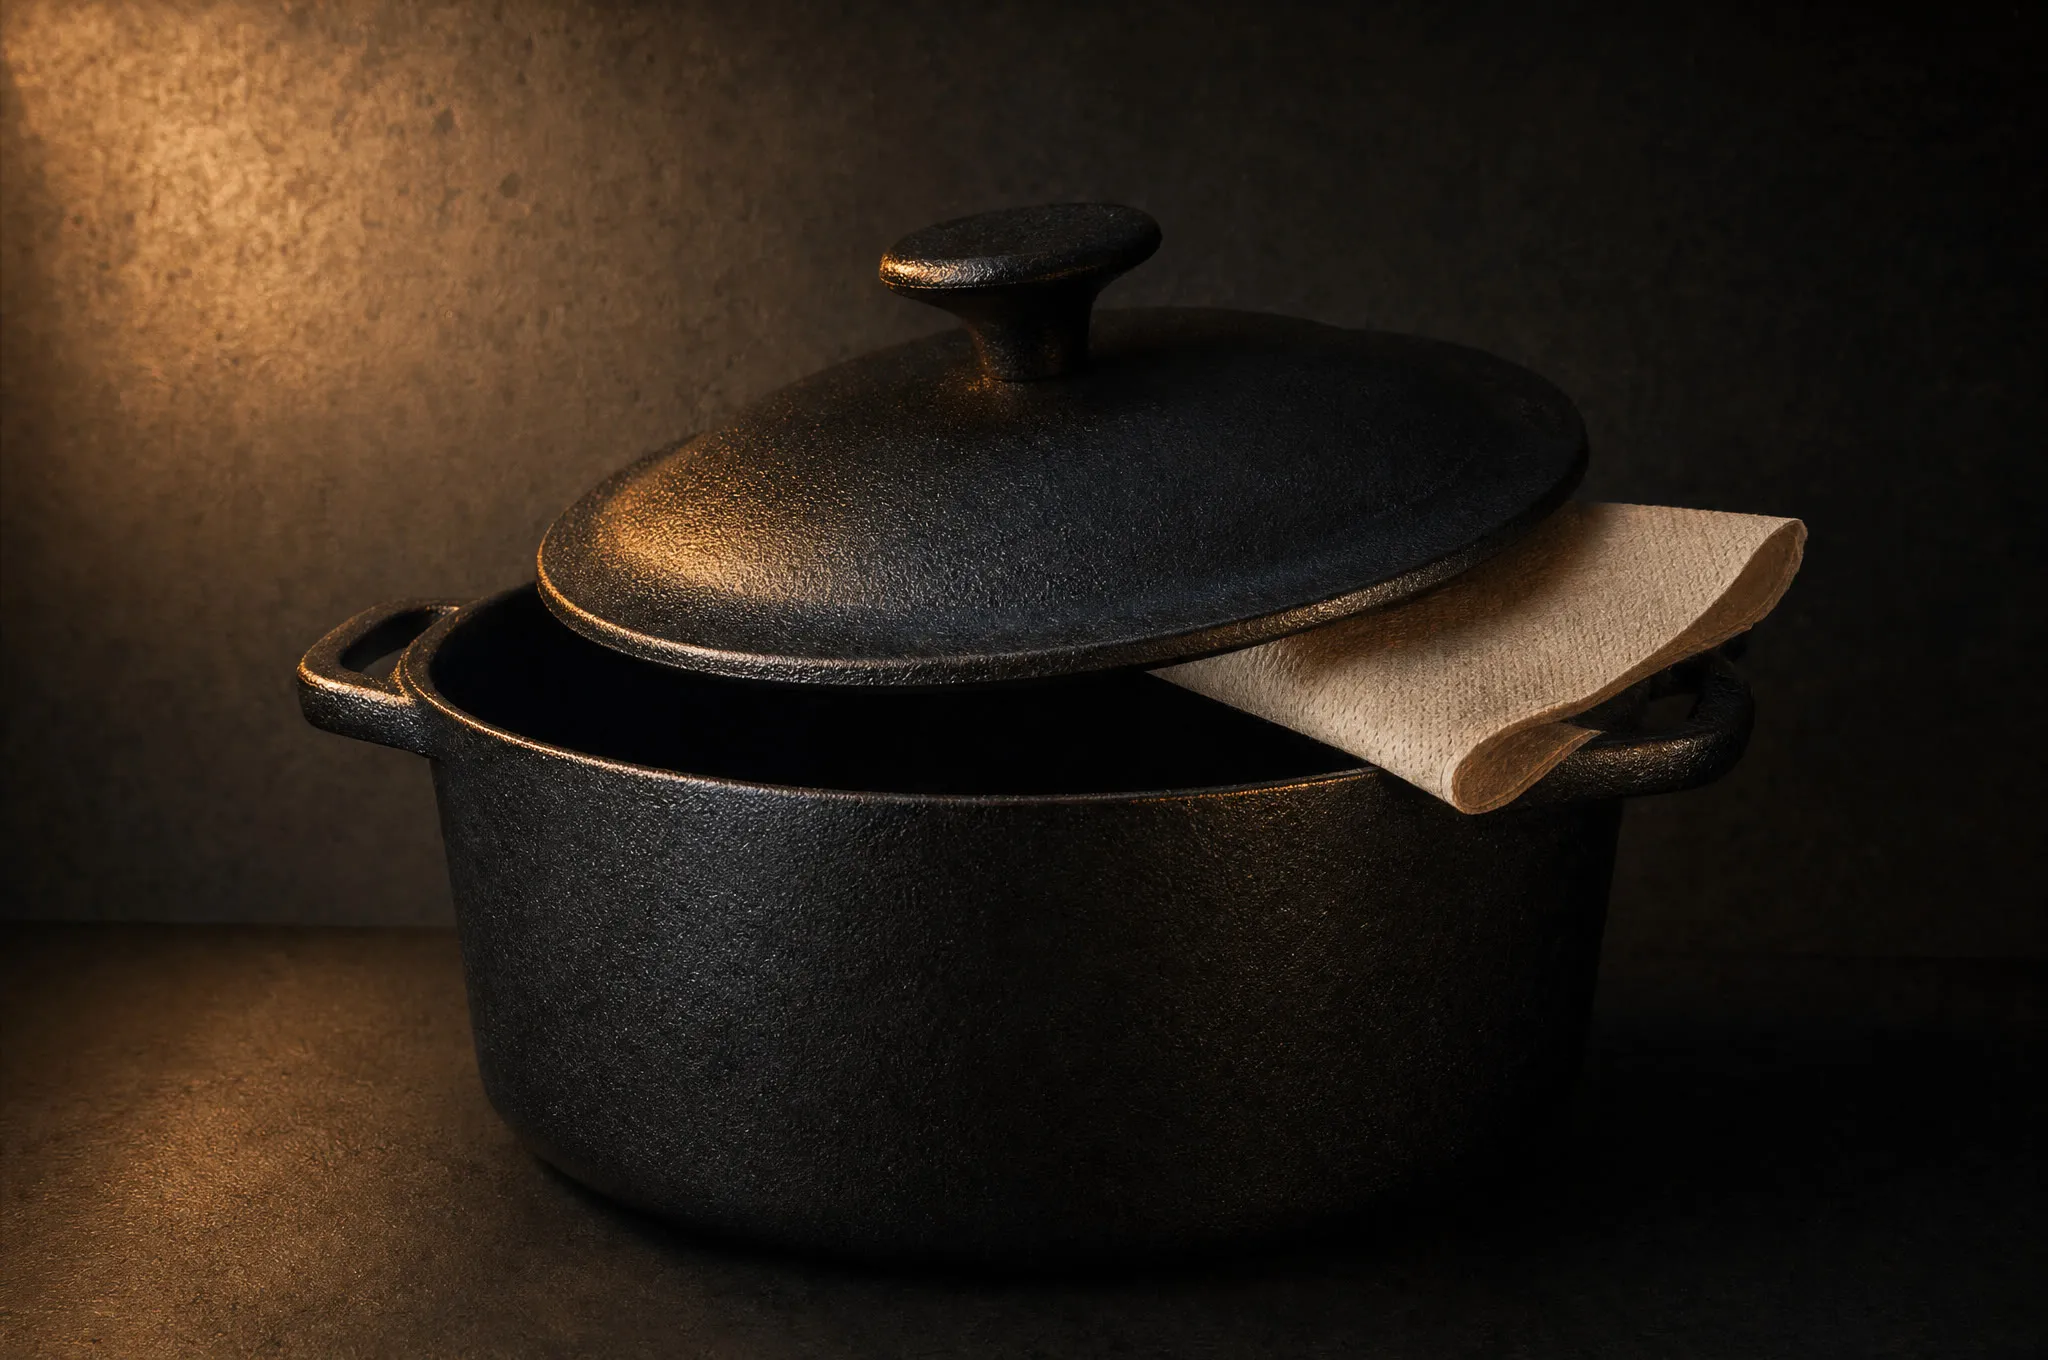
A bare cast iron dutch oven is cared for like a deep skillet that happens to have a lid: season the walls and the lid like any other iron, clean with hot water and a scraper while it’s still warm, dry it on the burner, wipe in a thin coat of oil, and never store it with the lid seated.
The extra surface area and the lid are the whole story — more iron to keep seasoned, one new place for moisture to hide. Everything below is how to run that in practice, from kitchen pots to the legged campfire kind.
First: bare iron or enameled?
This article covers bare cast iron — the matte black or gray pot, campfire style or kitchen style, that you season and keep dry. If your dutch oven is glossy inside — white, cream, or colored enamel, the Le Creuset and Staub family and their many clones — none of the seasoning-and-rust rules apply to you. Enamel is glass fused over the iron: use soap freely, soak it overnight if you want, and never season it — oil baked onto enamel is just a stain you’ll be scrubbing off later. Your risks are thermal shock and chipped enamel — wood or silicone tools, no cold water into a hot pot. If that’s your pot, you’re done here; everything below is for bare iron.
Season the walls and the lid like any other iron
A bare dutch oven is the same metal as your skillet, so it seasons the same way — the catch is that cooking alone won’t maintain it evenly. A skillet builds seasoning across its whole floor because that’s where the fat and heat live. In a dutch oven, the fat sits at the bottom while the walls mostly see steam and splatter, and the lid sees nothing but condensation. Left to “season through use,” the pot develops a well-fed black floor and increasingly thirsty upper walls.
The fix is a proper oven seasoning pass once the coating starts looking dry or patchy: thin coat of oil over every surface — inside, outside, rim, handle loops — buffed back until it looks dry, then baked upside down. The pot and the lid go in as two separate pieces, each treated like its own pan. Legs on a camp oven are no problem in a kitchen oven; the pot just stands on them on the rack.
The lid is the most neglected piece of iron in most kitchens. Its underside gets rained on by condensation for the length of every cook, and almost nobody oils it afterward. Season it like a pan, dry it like a pan, oil it like a pan.
The acidic braise reality
Here’s the honest part: the dishes dutch ovens are famous for — sunday sauce, coq au vin, three hours of tomatoes and red wine — are the dishes bare iron is worst at when the pot is new. Acid dissolves young seasoning. Run a long tomato braise in a recently seasoned pot and you’ll pull patches of the coating right off the walls, and dinner comes out with a faint metallic edge. Not dangerous — just a stripped pot and a sauce that tastes like pennies.
You have three real options:
- Build the seasoning deeper first. Months of roasts, chili without much tomato, frying, bread baking — fatty, low-acid cooking that stacks up coats. Mature seasoning shrugs off an hour of tomato and survives longer braises with only surface wear.
- Keep acid short while the pot is young. A quick tomato finish stirred in near the end is a different animal from three hours at a simmer.
- Use enameled for the wine-and-tomato classics. This is exactly what enamel is for, and it’s not a defeat to own both. Plenty of serious cooks run bare iron for searing, frying, and bread, and an enameled pot for the acidic braises.
If a braise does strip patches, it’s a maintenance moment, not a crisis: clean the pot, dry it, and run an oven seasoning pass to rebuild.
Cleaning after a stew
Clean the pot while it’s still warm — warm iron gives up stuck food easily, and a pot that sits overnight with stew residue is a soaking job by morning. Scrape the bottom with a plastic scraper or wooden spatula, then hot water and a stiff brush. Soap is fine — modern dish soap doesn’t hurt seasoning — and a stew pot is exactly where you want it, because rendered fat left in the pot goes rancid.
Two dutch-oven-specific notes:
- The fond ring. A braise leaves a baked-on band at the liquid line. Don’t attack it dry — pour in an inch of water, bring it to a simmer for a few minutes, and it scrapes off like it was never there.
- Wash the walls and lid, not just the floor. Splatter climbs high in a deep pot, and the lid’s underside caught everything the steam carried up.
Then the put-away: dry the pot on the burner for a couple of minutes until every trace of water has cooked off — a towel alone doesn’t finish the job on this much iron — and the lid goes on the burner for its own turn, or into a hot oven if it’s the domed kind that won’t sit flat. Thin wipe of oil on both pieces, buffed until the surface looks dry again.
Campfire ovens: legs and flange
A camp dutch oven — three legs, bail handle, flat lid with a raised flange — is built to cook with coals, and the coal layout is the whole skill. The legs hold the pot above a bed of coals; the flange holds a second bed on the lid without ash sliding into the food. Heat from below simmers and fries; heat from above roasts and bakes.
The classic starting point for baking temperatures is the oven’s diameter in inches, plus three coals on the lid and minus three underneath — a 12-inch oven gets about 15 briquettes on top and 9 below. Arrange the bottom coals in a ring under the outer edge, not a pile under the center, and spread the lid coals evenly with a couple extra at the rim. Every 15 minutes or so, give the pot a quarter turn one way and the lid a quarter turn the other to cancel the fire’s hot spots. More coals on top than below is the rule for nearly everything but a plain simmer — a hot bottom scorches; a hot lid just browns.
A camp oven follows every rule above plus one: it lives outdoors and in garages, so it gets the deep-storage treatment — bone dry, oiled a touch heavier, and checked every month or two, because nobody notices rust forming on a pot nobody’s looked at since the last trip.
Storage: never sealed
The lid is the storage hazard. Put a dutch oven away with the lid seated and you’ve built a sealed chamber of kitchen air that condenses moisture onto the iron every time the temperature drops — the pot rusts from the inside while looking perfectly fine on the shelf. The rule from the general storage playbook applies double here: nothing stored sealed.
The dutch oven version: fold a paper towel into a thick pad, lay it across the rim, and rest the lid on it ajar. The gap lets air exchange; the towel wicks up whatever moisture shows up anyway. Store the pot somewhere dry — not under the sink, not a damp garage floor — and if the pot won’t be touched for months, wrap it in butcher paper rather than plastic.
Check that rim channel and the lid’s underside whenever the pot comes out of storage. Thirty seconds with your eyes saves an afternoon with steel wool.
The short version
Season the walls and lid on purpose, because cooking only feeds the floor. Keep long acidic braises away from young seasoning — or give them to an enameled pot without apology. Clean it warm, dry it on heat, oil everything including the lid, and store it with the lid propped open on a towel pad. That’s the whole job. A bare dutch oven run this way is the same low-maintenance iron as the rest of your cast iron care routine — there’s just more of it, and it has a lid.
FAQ
Do I need to season the lid of a cast iron dutch oven?
Yes. The lid is the same bare iron as the pot, and it lives in worse conditions — every cook coats its underside in condensation. Season it in the oven like a separate pan, and give it the same dry-and-oil treatment at cleanup. An unseasoned lid is where most dutch oven rust starts.
Can I cook tomato sauce in a bare cast iron dutch oven?
On mature seasoning, a tomato dish that simmers under an hour is fine. A three-hour tomato or wine braise on young seasoning is not — the acid strips the coating in patches and the food picks up a metallic edge. Build the seasoning deeper with fatty cooking first, or hand the long acidic braises to an enameled pot.
How should I store a cast iron dutch oven so it doesn't rust?
Dry it on a burner, wipe a thin coat of oil over every surface including the lid, then fold a paper towel into a pad, lay it across the rim, and rest the lid on top ajar. The gap lets the pot breathe; a seated lid traps moist air against the iron for weeks.
Does any of this apply to enameled dutch ovens?
No. Enamel is glass fused over the iron — soap and soaking are fine, seasoning is pointless, and rust isn't a threat unless the enamel chips. Your risks are different: thermal shock and metal tools chipping the coating. Care instructions for bare iron will just confuse an enameled pot's owner.